Microsoft Copilot Studio is a versatile platform that allows developers to build custom AI assistants and plugins tailored to their specific needs. It offers a low-code environment, making it accessible to both seasoned developers and those new to coding. With Copilot Studio, you can create plugins that integrate seamlessly with Microsoft 365 applications, enhancing their capabilities and providing more value to your users.
Getting Started with Copilot Studio
Before you start building custom plugins, you need to set up your environment. Here’s a step-by-step guide to getting started:
- Sign Up and Access Copilot Studio: First, ensure you have access to Microsoft Copilot Studio. If you’re not already signed up, you can do so through the Microsoft website.
- Set Up Your Development Environment: Download and install any necessary tools and software. Microsoft Copilot Studio integrates well with Visual Studio Code, making it a great choice for your development environment.
- Familiarize Yourself with the Interface: Spend some time exploring the Copilot Studio interface. Get to know where everything is located and what tools are available to you.
Building Your First Plugin
Building a custom plugin with Copilot Studio is straightforward, thanks to its low-code environment. Here’s how to get started:
- Create a New Project: Open Copilot Studio and create a new project. Choose the type of plugin you want to build—whether it’s for Outlook, Teams, or another Microsoft 365 application.
- Define Your Plugin’s Purpose: Clearly outline what your plugin will do. For example, you might create a plugin that helps users manage their email more efficiently by automating responses to common queries.
- Design the User Interface: Use Copilot Studio’s drag-and-drop interface to design your plugin’s user interface. Add buttons, text fields, and other elements as needed.
- Write the Logic: Using the low-code tools, define the logic behind your plugin. This could involve setting up triggers for certain actions, integrating with other services, or processing user input.
- Test Your Plugin: Before deploying, thoroughly test your plugin to ensure it works as expected. Use the built-in testing tools in Copilot Studio to debug any issues.
Deploying Your Plugin
Once your plugin is ready, it’s time to deploy it:
- Package Your Plugin: Use Copilot Studio to package your plugin into a deployable format. This usually involves creating a manifest file that describes your plugin and its capabilities.
- Deploy to Microsoft 365: Upload your plugin to the Microsoft 365 platform. You can do this through the Microsoft 365 admin center. Make sure to follow all guidelines and best practices for deploying plugins.
- Monitor and Update: After deployment, monitor your plugin’s performance. Use the analytics tools in Copilot Studio to track usage and gather feedback. Make updates as needed to improve functionality and address any issues.
Best Practices for Plugin Development
To ensure your plugins are effective and well-received, follow these best practices:

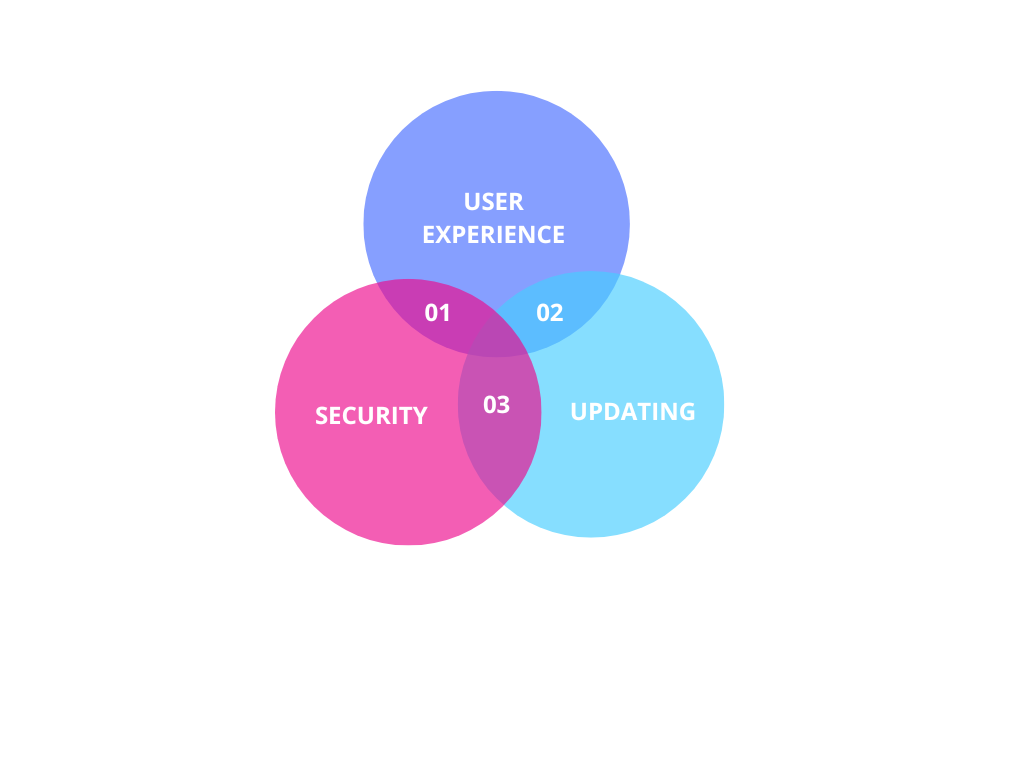
- Focus on User Experience: Design your plugins with the user in mind. Ensure they are intuitive and add real value to the user’s workflow.
- Keep Security in Mind: Always follow best practices for security. Protect user data and ensure your plugin complies with relevant regulations.
- Iterate and Improve: Use feedback and analytics to continually improve your plugins. Regular updates can help maintain user engagement and satisfaction.
Building and deploying custom plugins for Microsoft 365 with Copilot Studio opens up a world of possibilities. With its low-code environment and robust set of tools, you can create powerful, tailored solutions that enhance productivity and streamline operations. Start exploring Copilot Studio today and see how you can transform your Microsoft 365 experience with custom plugins. Our experts are here to guide you through your AI projects with Copilot Studio.


