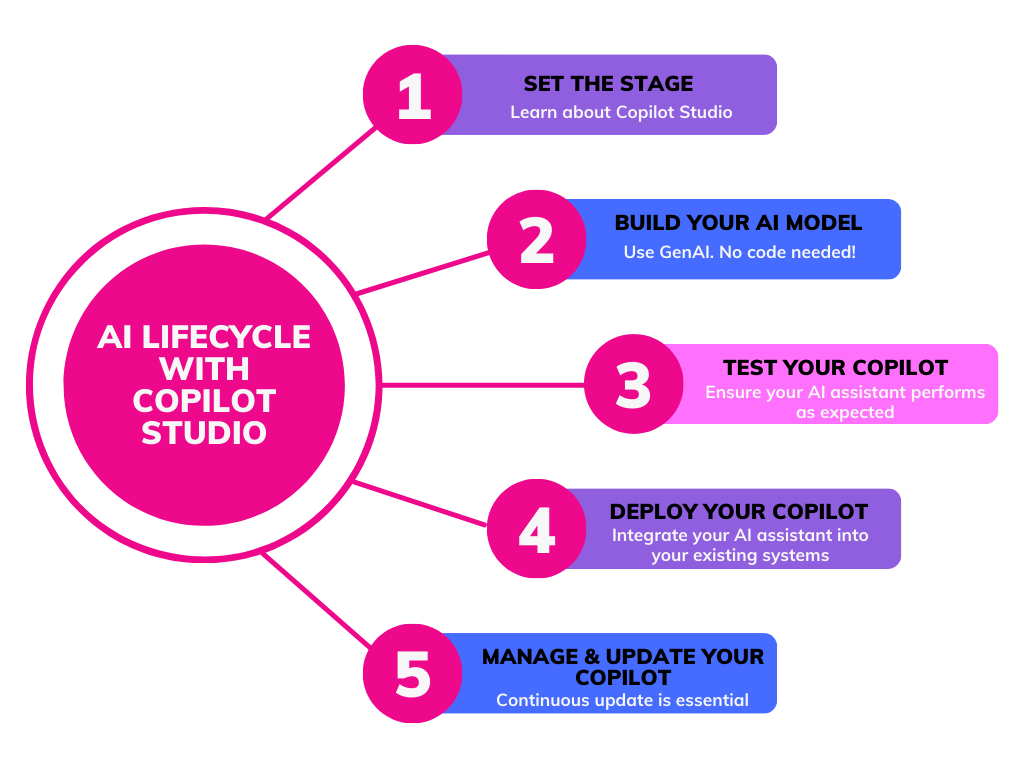
Artificial intelligence is no longer just a buzzword—it’s a game-changer for businesses of all sizes. If you’re looking to harness the power of AI, Microsoft Copilot Studio is your go-to platform for building, customizing, and managing AI solutions without requiring extensive coding knowledge. But what does the journey from development to deployment look like with Copilot Studio? Let’s dive into it, step by step.

Step 1: Getting Started with Copilot Studio
First things first, let’s set the stage. Copilot Studio is designed to be user-friendly, even if you’re not an AI expert. The low-code graphical development environment makes it easy to create custom AI assistants, known as copilots, tailored to your specific needs. Whether you’re aiming to improve customer service, streamline operations, or analyze data, Copilot Studio has got you covered.
Key Features:
- Intuitive user interface
- Drag-and-drop functionality
- Pre-built templates and components
Example: You’re creating a customer service copilot. You can start by selecting a pre-built template for customer inquiries, then customize it to fit your brand’s voice and specific needs. This process is as simple as filling out forms and connecting predefined modules, rather than writing complex code.
Step 2: Building Your AI Model
This is where your copilot starts to take shape. With its AI development capabilities, Copilot Studio allows you to create AI models using generative AI, which means your copilots can understand and generate human-like responses. You don’t need to be a coding wizard to get started.
Key Components:
- Dialog Creation: Design the conversation flow your copilot will follow.
- Knowledge Integration: Feed your copilot with relevant information.
- Actions: Define specific tasks your copilot can perform.
Detailed Example – Creating a Product Recommendation Copilot:
Dialog Creation:
- Start with a greeting: “Hello! I’m here to help you find the perfect product. What are you looking for today?”
- Follow up with questions about preferences: “Do you prefer eco-friendly products?” or “What’s your budget range?”
- Create decision trees based on user responses to guide them to the right product.
Knowledge Integration:
- Upload your product catalog with details like price, features, and customer reviews.
- Include FAQs about your products and company policies.
- Add information about current promotions or deals.
Actions:
- Set up an action to fetch real-time inventory data when a product is recommended.
- Create an action to initiate the checkout process directly from the conversation.
- Implement an action to schedule a callback with a human representative if needed.
Step 3: Testing Your Copilot
Once you’ve built your copilot, it’s time to take it for a test drive. Testing is crucial to ensure your AI assistant performs as expected. Copilot Studio offers a robust testing environment where you can simulate conversations and tweak responses.
Testing Strategies:
- Conversation Simulations: Run through various scenarios to see how your copilot handles different user inputs.
- Error Checking: Identify and fix any inaccuracies or misunderstandings in responses.
- User Feedback: Incorporate real user input to refine your copilot’s performance.
Practical Tips:
- Create a diverse set of test cases covering common and edge-case scenarios.
- Use the “try it now” feature in Copilot Studio to simulate conversations in real-time.
- Involve team members from different departments to test from various perspectives.
- Pay special attention to how your copilot handles unexpected or off-topic queries.
Step 4: Deploying Your Copilot
Once your copilot has passed the testing phase, it’s time to go live. Copilot Studio simplifies, not only the development, but also the deployment process, allowing you to integrate your AI assistant seamlessly into your existing systems.
Deployment Steps:
- Publishing: Make your copilot available to users within your organization.
- Integration: Connect your copilot with other systems and data sources.
- User Training: Ensure your team knows how to interact with and leverage the new AI assistant.
Integration Examples:
- Microsoft 365 Integration: Deploy your copilot directly into Teams for easy access by employees.
- SAP Integration: Connect your copilot to SAP systems to provide real-time inventory or financial data during customer interactions.
- Workday Integration: Allow your copilot to access HR information, enabling it to assist with employee queries about benefits or time-off requests.
- ServiceNow Integration: Empower your copilot to create and update support tickets automatically based on customer conversations.
Step 5: Managing and Updating Your Copilot
The journey doesn’t end with deployment. Continuous management and updates are essential to keep your copilot effective and relevant.
Management Tools:
- Analytics: Track performance metrics such as user satisfaction, query resolution rate, and conversation duration.
- User Controls: Manage access permissions and ensure compliance with data protection regulations.
- Regular Updates: Keep your copilot’s knowledge base and functionalities up-to-date.
Best Practices:
- Schedule regular review sessions to analyze copilot performance and user feedback.
- Create a feedback loop where end-users can easily report issues or suggest improvements.
- Stay informed about new features and updates in Copilot Studio to leverage the latest capabilities.
- Continuously expand your copilot’s knowledge base with new products, services, or company information.
Managing the AI lifecycle with Copilot Studio—from development to deployment—is designed to be a smooth and efficient process. The platform empowers you to create powerful AI solutions without needing deep technical expertise. By continuously managing and updating your copilots, you ensure they remain valuable assets to your organization.
Ready to start your AI journey with Copilot Studio? Reach out to our experts who can guide you every step of the way.


